Introduction:
Sirsasana can also be called as Head Stand Pose or Posture, and it is called as king of all asanas. In sanskrit “Sirsa” means Head and where as “Asana” means Posture or Pose.
How to do Head Stand Pose or Sirsasana:
Sirsasana can be divided into two parts one is a) A solid base or foundation ranging from pelvis to shoulders b) Putiing remaining part of the body from hips to toe region. To do Sirsasana you have to concentrate on important things like power of strength, power of balance, power of control and power of imagination. Always try to keep these things in your mind when you are in the process of Sirsasana.
Part A :
First you got to create a solid base or solid foundation in order to put your remaining part of the body on your hips, so how to create a solid base which actually ranges from shoulder part to hip region.
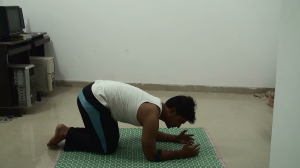
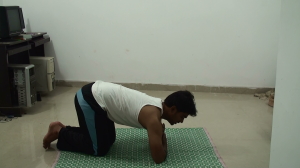
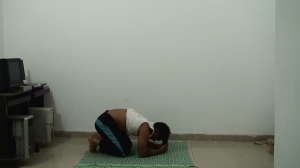
Initially try to be in vajrasana, raise your hips, lean forward by putting your elbow on the floor at a comfortable distance. Fold your hands to each other and calculate the distance from your body. The distance has to be comfortable and depends upon individuality.
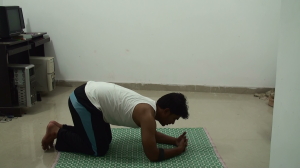
Now unfold your hands and try to inter lock your fingers by putting in forward direction. Now try to put your crown of the head into your palms such that the top of the flat part of your head should be on the floor and bottom of the flat part of your head should be in the palms nicely resting. And the shoulders have to be active in sense the distance between ears and shoulders should be comfortable but not large.
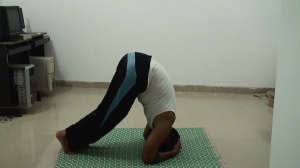
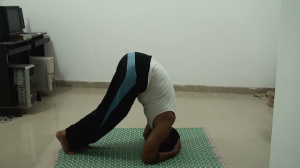
Now try to raise your legs slowly on your toe, such that the hips should be moving forward, try to walk as much as possible get closer to your abdomen with firm shoulders.
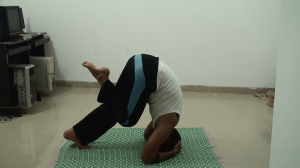
After getting closer to abdomen try to squeeze your right or left leg into your ribs or abdomen region by folding or bending your knees and push forward your weight of the body. By doing this process 3 to 4 times, slowly and very slowly or naturally you are going to lift your hips or pelvis on your shoulders. Now try to concentrate on your balance, concentration and control so that the spine becomes erect and pelvis moves in forward direction with the legs unfolding on your inverted body.
This ends Part A and try to have a normal breath with full of balance, control and concentration. Try to practice for 3 to 4 times before your go for Part B.
This whole process creates a solid base foundation for Part B.
Part B:
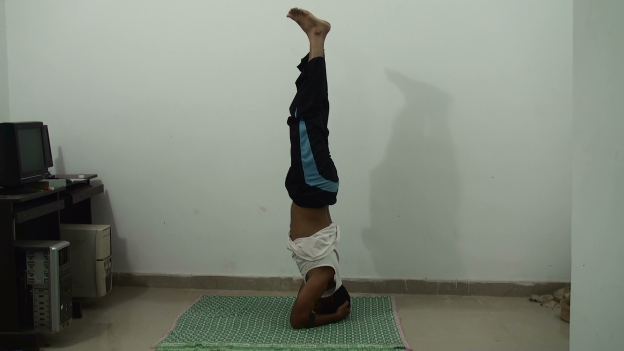
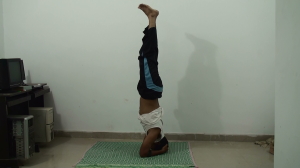
After Part A or when you are in the process of Part A, now try to lift your legs slowly by breathing in, in fact press the elbows, activate your abdomen muscles i mean suck the belly, inhale, pull the pelvis to the central line so that the whole body stands in one single clean line .
Try to lift your legs slowly and put it in clean central line such that the gravitational force gets activated on your central axis or line making your weight of the body or your balance effortless. You are not going to have any strain on your shoulders or neck once above steps are done precisely.
Try to make feel the stack of your body in this way, like legs stacked on hips, hips stacked on ribs, ribs stacked on shoulders, shoulders on fore arms and head.
Try to be in this pose for atleast 30 seconds or try to take 25 breaths and then you can go for 50 breaths by closing your eyes.
Now to drop down, you need to initiate the movement and exhale initially, bend your knees slowly, come to the half way by getting your pelvis back in forward region again slowly. Now you will be in part A, slowly drop your legs one by one, and try to be in vajrasana or charle’s pose for distribution of blood or energy evenly through out the body. Open your eyes just relax for 10 min and you can go for next asana.
Benefits:
- Improves blood circulation in your brain and heart
- Cures Insomnia
- Relaxes your mind
- Awakens the spiritual energy in your soul, you become more conscious and more confident.
- Relaxes anxiety
- Activates every internal organ of the body.
- Functionality of arteries and veins increases.
